+1 Nose to Escape
+1 Nose to Escape Beginner's Guide: Your First 30 Minutes
 By AllanIsGreasy · updated Sep 29 · 4 min read
I made +1 Nose to Escape, and I've watched a lot of testers play their first few minutes. This guide covers what the tutorial doesn't say out loud, plus the mistakes I saw the most.
The tutorial, step by step
The game walks you through your first steps with arrows on the ground and a text bar at the top of the screen.
- Train to Level 2. Walk onto a treadmill in the lobby. You start growing Nose right away, and your Level bar at the bottom fills up. Until you finish the tutorial you train twice as fast, so this step only takes a few seconds.
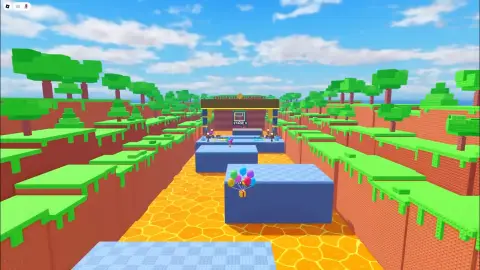
- Cross Stage 1. Walk to the lava canyon and stretch across the two short gaps. Stage 1 is made so that the starting nose reaches easily.
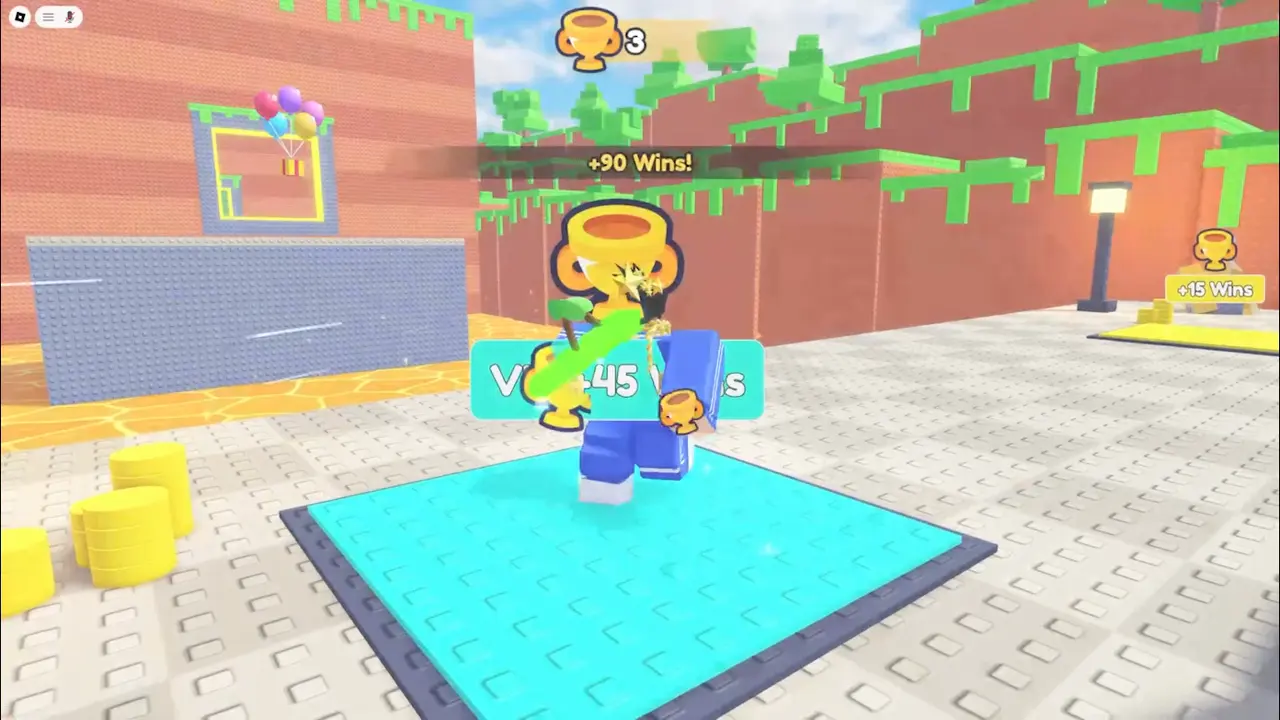
- Step on the win pad. Stand on the pad on the last platform to get your first Win.
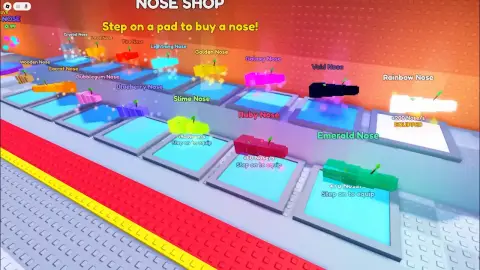
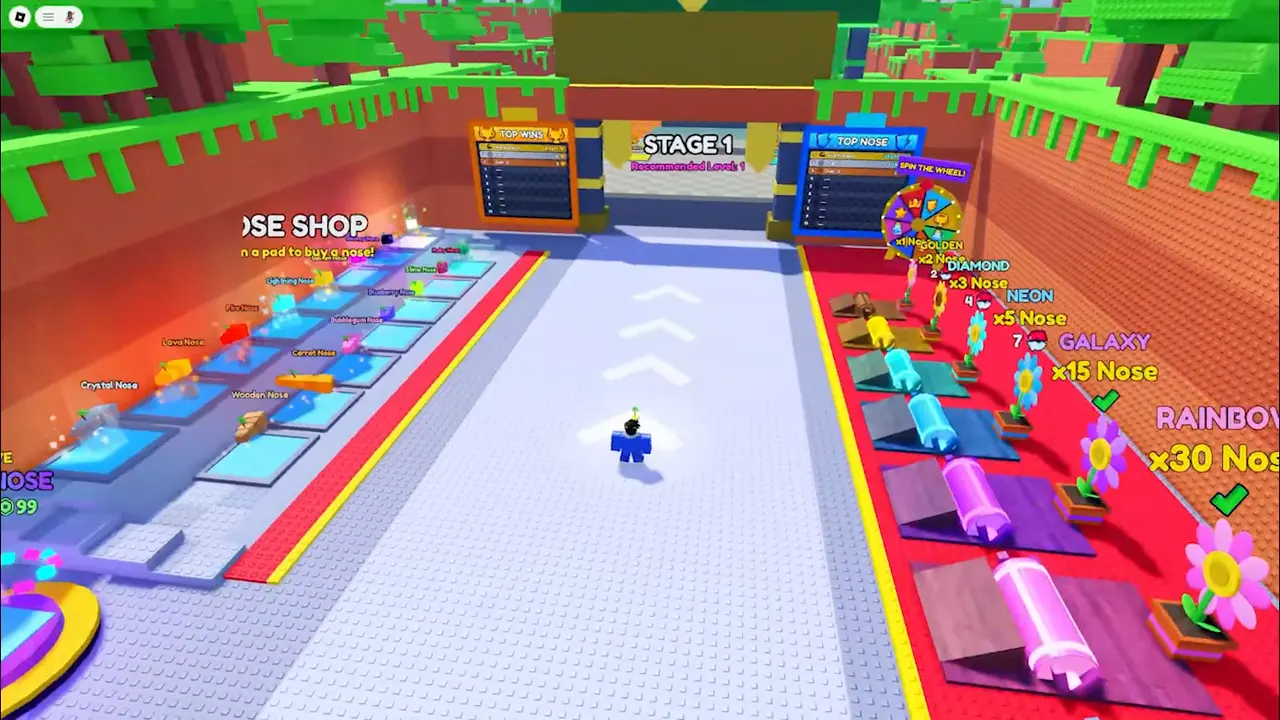
- Buy your first nose. Back in the lobby, step on the glowing pad in the Nose Shop. The Carrot nose costs 1 Win and doubles your Nose per second.
After that, the game still points you to the next thing to do, like a new nose you can afford.
How to aim and zip
The nose always starts growing a little upward and then bends toward where your camera is looking, not where your character is facing. That trips up almost everyone at first.
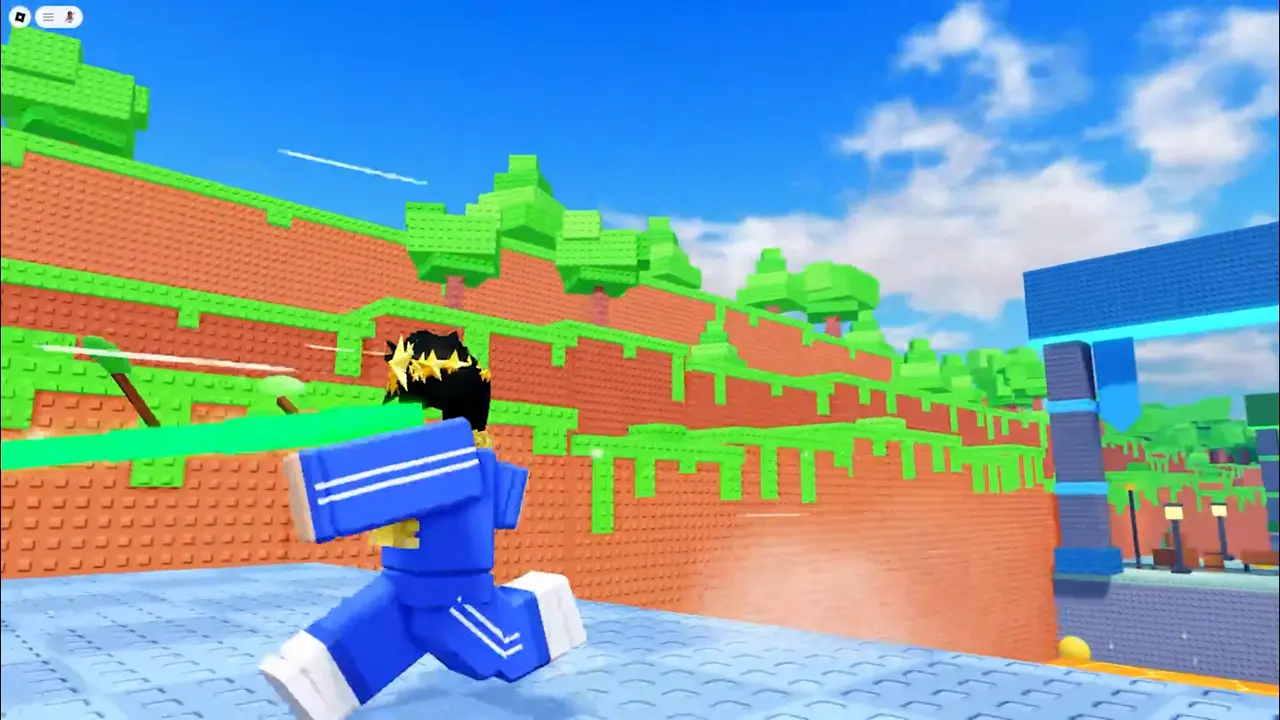
- Point your camera at the top of the next platform before you hold. Aiming slightly above the edge is better than aiming at it.
- Let go when the tip is over the platform. If the tip hits the floor, you land there. If it hits the side of the platform, you still pull yourself up onto it, so a slightly low aim is fine.
- Don't let go over lava. If you release while the tip is in the air, you drop straight down.
- Hold until the bar runs out if you're not sure. The bar at the top counts down how far your nose can still grow, and when it reaches zero the nose snaps and pulls you anyway.
Your reach decides which stages you can do
Your nose reaches 36 studs at Level 1, and every Level adds 7 more. Each stage's sign shows a recommended Level, which is the Level where your reach clears its widest gap. If you keep falling short, you don't need better aim, you need more Levels. Go back to the treadmills.
The stages guide lists the recommended Level for all 11 stages.
Train smarter on the treadmills
- Tap the tissue boxes. They pop up on screen while you train and shrink away after 4 seconds. Each one makes your next gain worth 1.1x to 1.5x more.
- Better treadmills unlock with rebirths. The Golden treadmill (2x) opens at 2 rebirths, Diamond (3x) at 4, and Neon (5x) at 7.
- Play with friends. Every friend in your server gives +10% Nose, up to +50%.
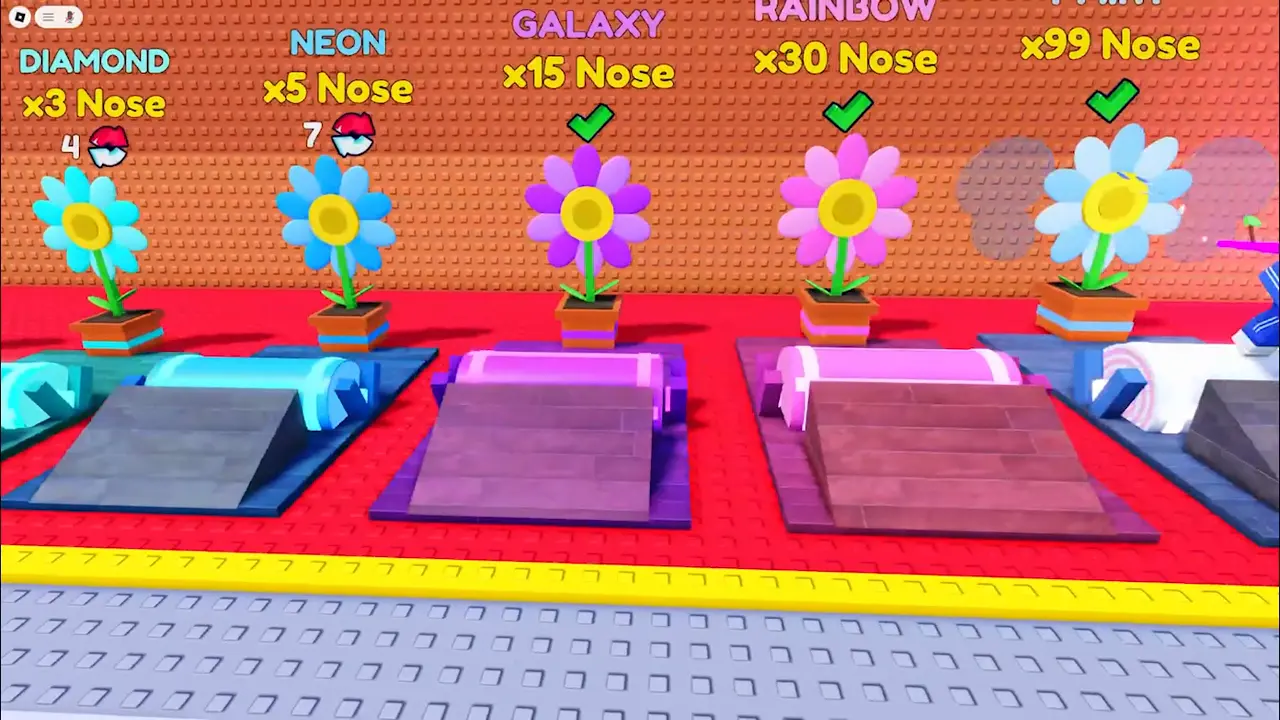
Spend your Wins on noses first
Every nose in the Nose Shop gives more Nose per second than the one before, and they unlock in order. Early on, a new nose is the best thing you can buy with Wins. Blooms (flowers that grow along your nose) are also good, but they cost more Wins for a smaller jump at the start. The noses guide has every cost.
Grab the extras on the stages
- Balloons float over the gaps on Stages 3 to 5. Stretch through one for bonus Wins.
- Speed rings start on Stage 3. Go through one for a short speed boost and bonus Wins.
- The teal pad next to the normal win pad is the VIP pad. It pays 3x Wins but needs the VIP pass. The normal pad is fine.
When you hit "MAX"
Your Level stops at a cap, and the first cap is Level 10. When you reach it, the only way forward is to rebirth. It starts you over at Level 1 but makes every bit of Nose you earn after that worth more, and you keep your Wins and noses. The first rebirth is quick on purpose. Read the rebirth guide to see what each one needs.
Free stuff to claim every time you play
- The codes from the main page: press the gear in the top right and use the Codes row.
- Your daily reward, playtime gifts and daily quests.
- One free wheel spin a day, or two if you're in the game's group.
- The free chest in the lobby, every 15 minutes.